
こんにちは。開発部第一グループの吉田です。
SwiftUIでのナビゲーション遷移の実装は簡潔でわかりやすく短時間で実装できますが、OSのバージョンによって差異があるため、最低動作バージョンがiOS16ぐらいになるまで使用することはあまり推奨されません。
なぜ推奨されないのか、iOS14から16までの各バージョンでのナビゲーション遷移、ナビゲーションバーの差異について説明したいと思います。
ナビゲーションの実装
ナビゲーションを管理するコンポーネントの実装
iOS15まで
NavigationView(iOS16からは非推奨)iOS16から
NavigationStack
これだけであれば画面遷移にはNavigationViewとNavigationStackの両方で使用できるNavigationLinkを使用し以下の様にOSのバージョンで分岐する事で対応可能です。
if #available(iOS 16.0, *) {
    NavigationStack {
        content
    }
} else {
    NavigationView {
        content
    }
}
画面遷移のコントロール
ナビゲーションで画面遷移し直前の画面に戻るだけのシンプルな物であればNavigationViewとNavigationStackで同じNavigationLinkを使用した画面遷移で良いのですが、以下の様な画面遷移のコントロールが必要な場合、OSのバージョンで分岐するなどの対応が難しくなってきます。
Rootの画面に一気に戻る
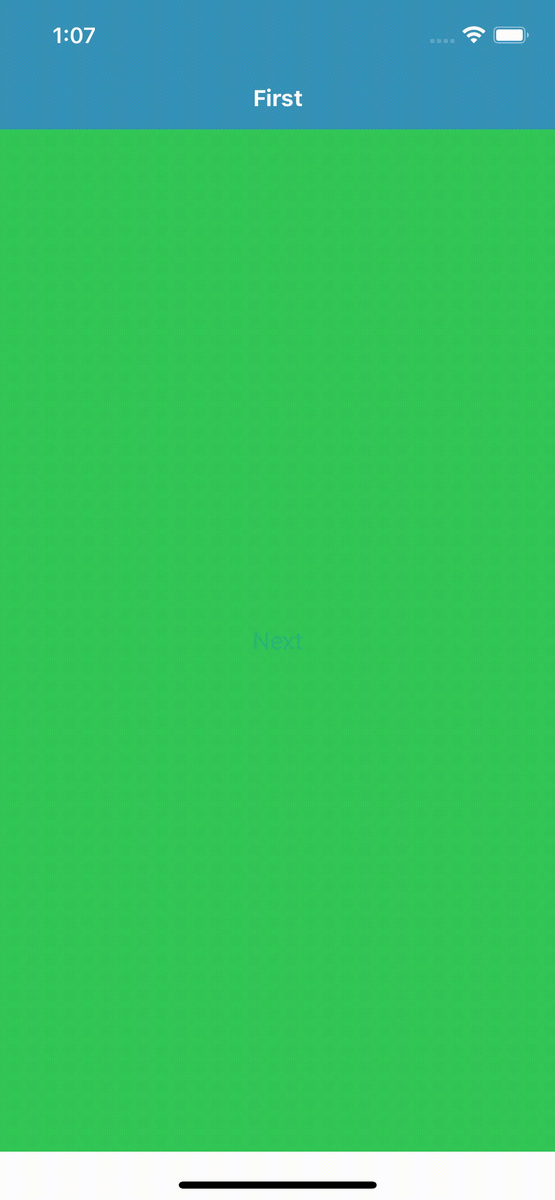
NavigationViewで複数画面遷移後にRoot画面に戻るには、以下の様にFirstViewのisActiveをThirdViewの@Bindingに設定し、それをfalseにしてFirstViewのNavigationLinkを解除しThirdViewから一気に戻る様にする事で可能です。
struct FirstView: View {
    @State private var isActive = false

    var body: some View {
        NavigationView {
            ZStack {
                Color.green
                NavigationLink(
                    destination: SecondView(isFirstNavigationLinkActive: $isActive),
                    isActive: $isActive,
                    label: { EmptyView() }
                )
                Button {
                    isActive = true
                } label: {
                    Text("Next")
                }
            }
            .commonNavigationBar(title: "First", leadingTool: .none, trailingTool: .none)
        }
    }
}

struct SecondView: View {
    @State private var isActive = false
    @Binding var isFirstNavigationLinkActive: Bool

    var body: some View {
        ZStack {
            Color.yellow
            NavigationLink(
                destination: ThirdView(isFirstNavigationLinkActive: $isFirstNavigationLinkActive),
                isActive: $isActive,
                label: { EmptyView() }
            )
            Button {
                isActive = true
            } label: {
                Text("Next")
            }
        }
        .commonNavigationBar(title: "Second", leadingTool: .back, trailingTool: .none)
    }
}

struct ThirdView: View {
    @Binding var isFirstNavigationLinkActive: Bool

    var body: some View {
        ZStack {
            Color.orange
            Button {
                isFirstNavigationLinkActive = false
            } label: {
                Text("Back to Root")
            }
        }
        .commonNavigationBar(title: "Third", leadingTool: .back, trailingTool: .none)
    }
}
ただこの方法をNavigationStackで設定してもRootの画面に一気に戻ることができません。
NavigationStackではサブビューに渡した@Binding var path: [Int]の配列を空にする事でRootに戻れる様になっています。
var colors: [Color] = [Color.green, Color.yellow, Color.orange]

struct FirstView: View {
    @State private var path: [Int] = []

    var body: some View {
        NavigationStack(path: $path) {
            ZStack {
                colors[0]
                Button {
                    path.append(1)
                } label: {
                    Text("Next Color")
                }
            }
            .navigationDestination(for: Int.self, destination: { index in
                ColorView(colorIndex: index, path: $path)
            })
            .commonNavigationBar(title: "Colors", leadingTool: .none, trailingTool: .none)
        }
    }
}

struct ColorView: View {
    var colorIndex: Int
    @Binding var path: [Int]

    var body: some View {
        ZStack {
            colors[colorIndex]
            if colorIndex + 1 == colors.endIndex {
                Button {
                    path.removeAll()
                } label: {
                    Text("Back to Root")
                }
            } else {
                Button {
                    path.append(colorIndex + 1)
                } label: {
                    Text("Next Color")
                }
            }
        }
        .commonNavigationBar(title: colors[colorIndex].description, leadingTool: .back, trailingTool: .none)
    }
}
ナビゲーションバーのカスタマイズ
SwiftUIでナビゲーションを管理するコンポーネントを実装した場合、ナビゲーションバーのカスタマイズの仕方がOSのバージョンによって異なる場合があります。
navigationItem
戻るボタンなどのナビゲーションアイテムの設定はiOS14からtoolbarにToolbarItemをセットする事で可能ですが、OSのバージョンによって挙動が少し異なります。
- ナビゲーションバーの左側に以下の様なCloseボタンをoffset付きで設定した場合、iOS14ではoffsetが効きません。
content
.navigationBarBackButtonHidden(true)
.toolbar {
    ToolbarItem(placement: .navigationBarLeading) {
        Button(
            action: {
                presentationMode.wrappedValue.dismiss()
            }, label: {
                Asset.Image.barIcClose.swiftUIImage
                    .renderingMode(.original)
            }
        )
        .offset(x: -10)
    }
}
iOS 14

iOS 15以降

iOS14では以下の様にnavigationBarItemsを使用する事で対応できます。
content
.navigationBarBackButtonHidden(true)
.navigationBarItems(
    leading:
        Button(
            action: {
                presentationMode.wrappedValue.dismiss()
            }, label: {
                Asset.Image.barIcClose.swiftUIImage
                    .renderingMode(.original)
            }
        )
        .offset(x: -10)
)
tintColor
ナビゲーションバーの戻るボタンなどの色はUINavigationBar.appearance().tintColorで設定可能です。
UINavigationBar.appearance().tintColor = .green
しかしiOS16以上の場合、この方法での設定は反映されません。
iOS16以上の場合は以下の様にtint(_:)(iOS15から使用可能)を使用して設定します。
NavigationStack {
    content
}
.tint(.green)
まとめ
これら以外にもOSのバージョンによって細かな差異があり、OSバージョンの分岐などで対応するのは難しくなっています。
これらの差異により最低動作バージョンがiOS16ぐらいになるまではSwiftUIでのナビゲーションバー実装はなるべく避けてUIKitで実装する方が無難だと思います。
参考記事
- https://zenn.dev/chocoyama/articles/32d52cf66dd6ff
- https://blog.code-candy.com/swiftui_navigationstack/#i-5
- https://developer.apple.com/documentation/swiftui/navigationview
- https://developer.apple.com/documentation/swiftui/navigationstack
- https://developer.apple.com/documentation/swiftui/navigationlink